
Over the summer I helped out a friend with a few DIY updates in her tiny West Village kitchen. After all was said and done, one of the things I was happiest with were these simple leather drawer pulls I created to replace her less-than-stellar cabinet hardware. I had seen this idea around the web in a few iterations and wanted to try my hand at creating it with my own little twist. Click “play” to watch and learn, and check out the full list of materials and step-by-step instructions below.

Here’s What You’ll Need
- Drill and drill bit
- Brass machine screw, washer, and nut (#10-32 x 1.5″)
- Brass finish washer (#10S)
- A length of leather strapping
- X-Acto knife
- Latex paint (I used Ralph Lauren’s Rue Royal)
- A small paintbrush
- Measuring tape
- Magna-Tac glue
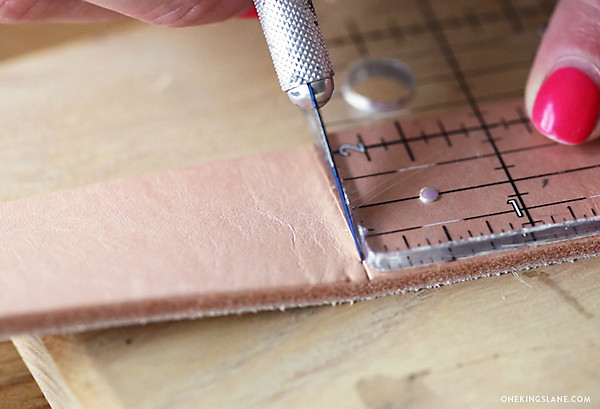 Step 1: Measure and Cut
To begin, measure and cut your leather. For each pull, I cut a 5.5″ long strip of leather using an X-Acto knife. Using extra-thick leather is really important for this project, since it needs to be sturdy enough to function as a pull. I found strips of leather at Kaufman Shoe Repair Supplies here in NYC. If you don’t have access to a store like this, try using vintage belts.
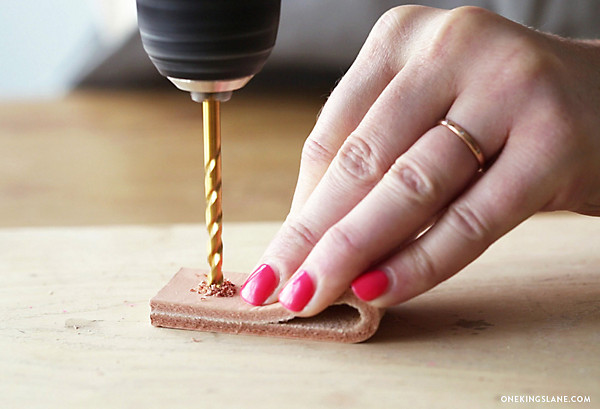 Step 2: Mark and Drill
Fold the cut leather piece in half, and mark the spot where the screw will attach the pull to the drawer. Use your drill to make a hole for the screw. Predrilling before you install the pull, rather than trying to make the hole and attach the pull at the same time, will ensure that your screw is centered.
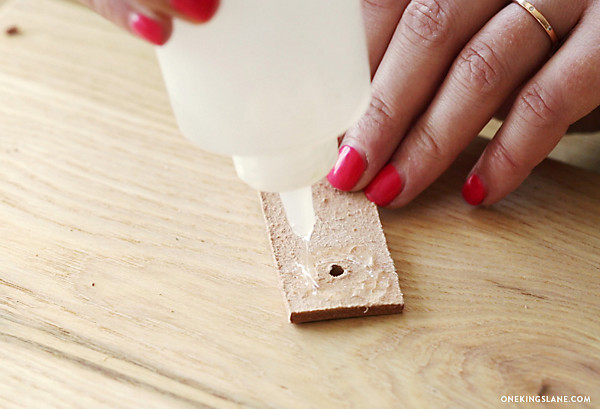 Step 3: Glue
Use a little bit of glue around the hole on both ends of the strip, then fold it in half again and press firmly to secure the two ends together.
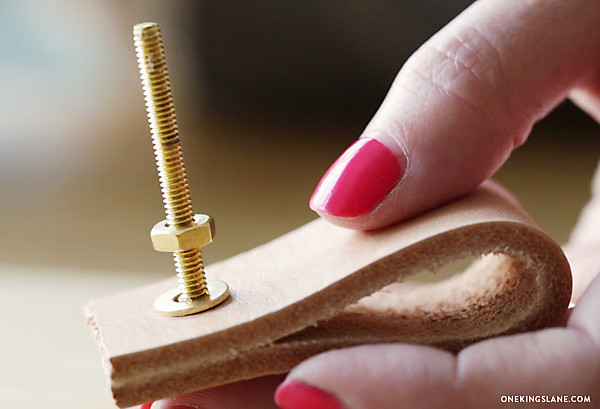
Next, place your finish washer over the hole and thread your screw through. On the back end of the pull, attach the basic washer and nut, then tighten to hold the ends together while the glue dries.
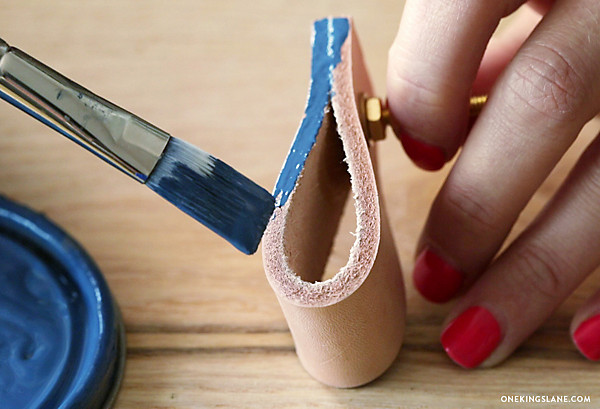 Step 4: Paint
This step is totally optional, but I decided to paint the outside edge of the leather the same color as the cabinet to give the whole thing a more custom look. In the end, I loved how this small touch made the pulls feel as if they had always been on the cabinets.
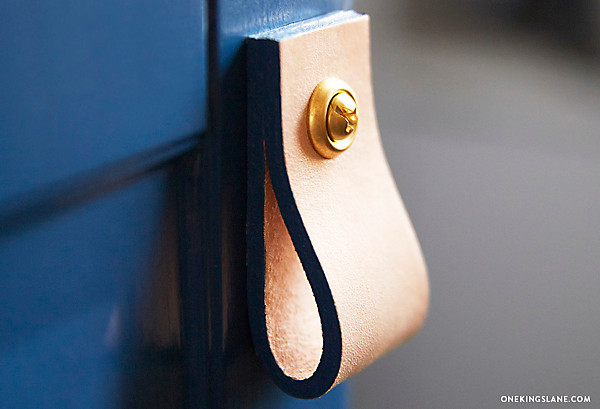 Step 5: Attach
Once the paint is dry you’re ready to attach your pulls to the drawers. If you’re not working with existing holes, use the same drill bit you used to make holes in the leather to predrill the holes for your pulls. Remove the backing nut you added while the glue was drying, attach your pull by screwing it into the cabinet holes, and reattach the nut on the inside to hold your pull in place.
Want more fun projects? Check out my Weekend Decorator page. And be sure to share your latest DIY projects with us using the hashtag #WeekendDecorator!


No comments:
Post a Comment