
Nail Polish Marbling
Hi, It's Kara! Recently I have been experimenting with different mediums to create marble effects. My favorite so far is definitely the nail polish technique and I'm excited to share it with you.
 It's so easy, a little messy, but the effects are so beautiful. When you lift your paper up and look at your results you'll have one of those, "Ohhh!" moments. The results are different every time.
Before you get started you will need to gather your supplies:


It's so easy, a little messy, but the effects are so beautiful. When you lift your paper up and look at your results you'll have one of those, "Ohhh!" moments. The results are different every time.Before you get started you will need to gather your supplies:
Supplies:
Before you begin, make sure you are in a well ventilated area because the smell from the nail polish can be quite strong. If you've just gotten a manicure you might want to wear gloves. Chances are you'll get some polish on your hands. But, everything cleans up easily afterwards with nail polish remover. I like to shake all of my colors and remove the caps before I begin. You have some time, but do have to work quickly since the nail polish begins to dry.- A shallow disposable container filled with a few inches of water
- Nail polish in desired colors
- A tool to swirl your colors together {ex; the end of an old paintbrush, a toothpick}
- Watercolor paper
- Gloves {optional}
Instructions:
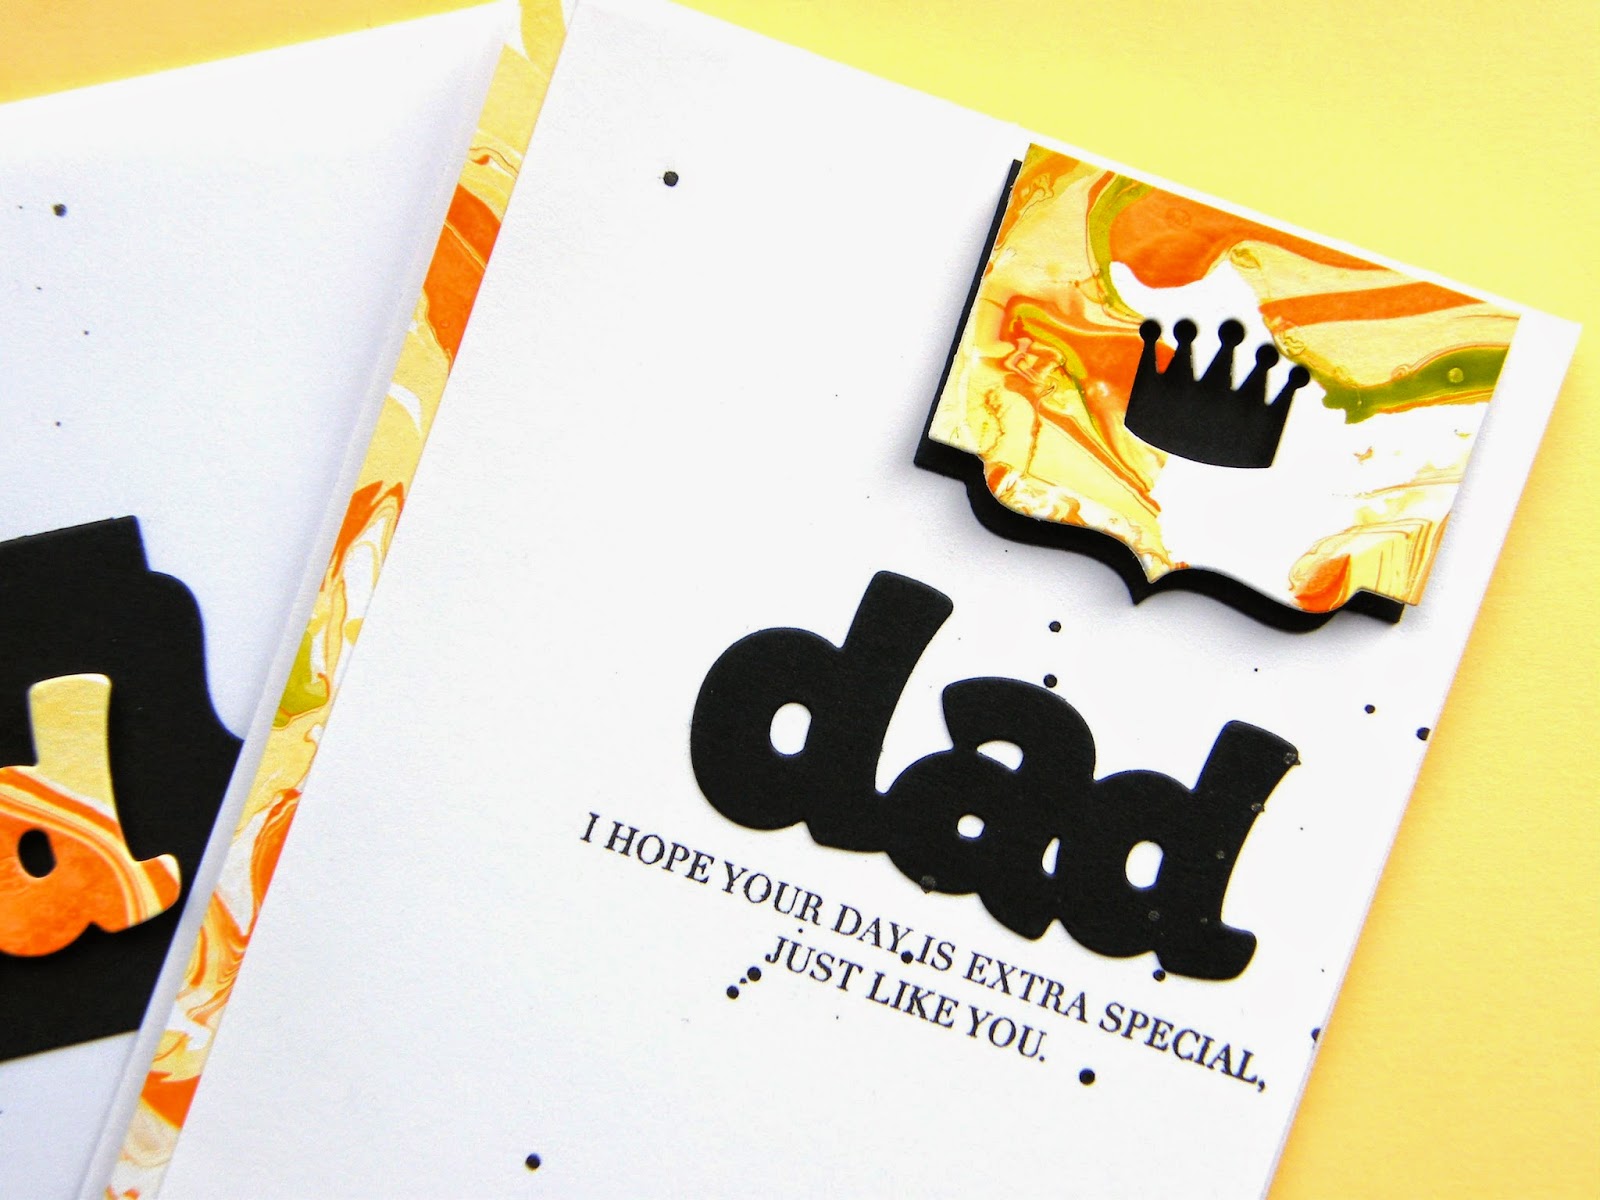
Here are a few examples of how I have used the marbled papers I have created.- Drizzle each color onto the surface of the water with a steady hand. You want the polish to float on the surface rather than sink to the bottom of the container.
- Once you have added all of your colors use your tool to swirl the colors together until you are happy with how it looks.
- Lay your watercolor paper onto the surface of the water and lightly press making sure the entire surface of the paper makes contact with the polish and then lift off.
- Set the piece aside to dry. Once it is dry you can use it as a background, die cut it, stamp on it, glitter it, or anything else you can imagine!
Wplus9 Supplies:
Wplus9 Supplies:
I hope you give this technique a try. Think beyond just paper. See those pencils and wood veneer butterflies? Yup, I marbled them too!


can you do the same thing with a canvas?
ReplyDeleteAdoro este tipo de arte. Gosto de todas mesmo.
ReplyDeleteGotaria de saber nesta arte apresentada, você coloca água morna ou natural? Tenho tantas sobras de esmaltes , e gostaria de fazer esta técnica, em alguns objetos que tenho. Poderiam , ter um modo de traduzir suas explicações. Ficaria muito grata. E passar o vídeo um pouquinho, mais devagar. Felicidades e boa sorte!!!